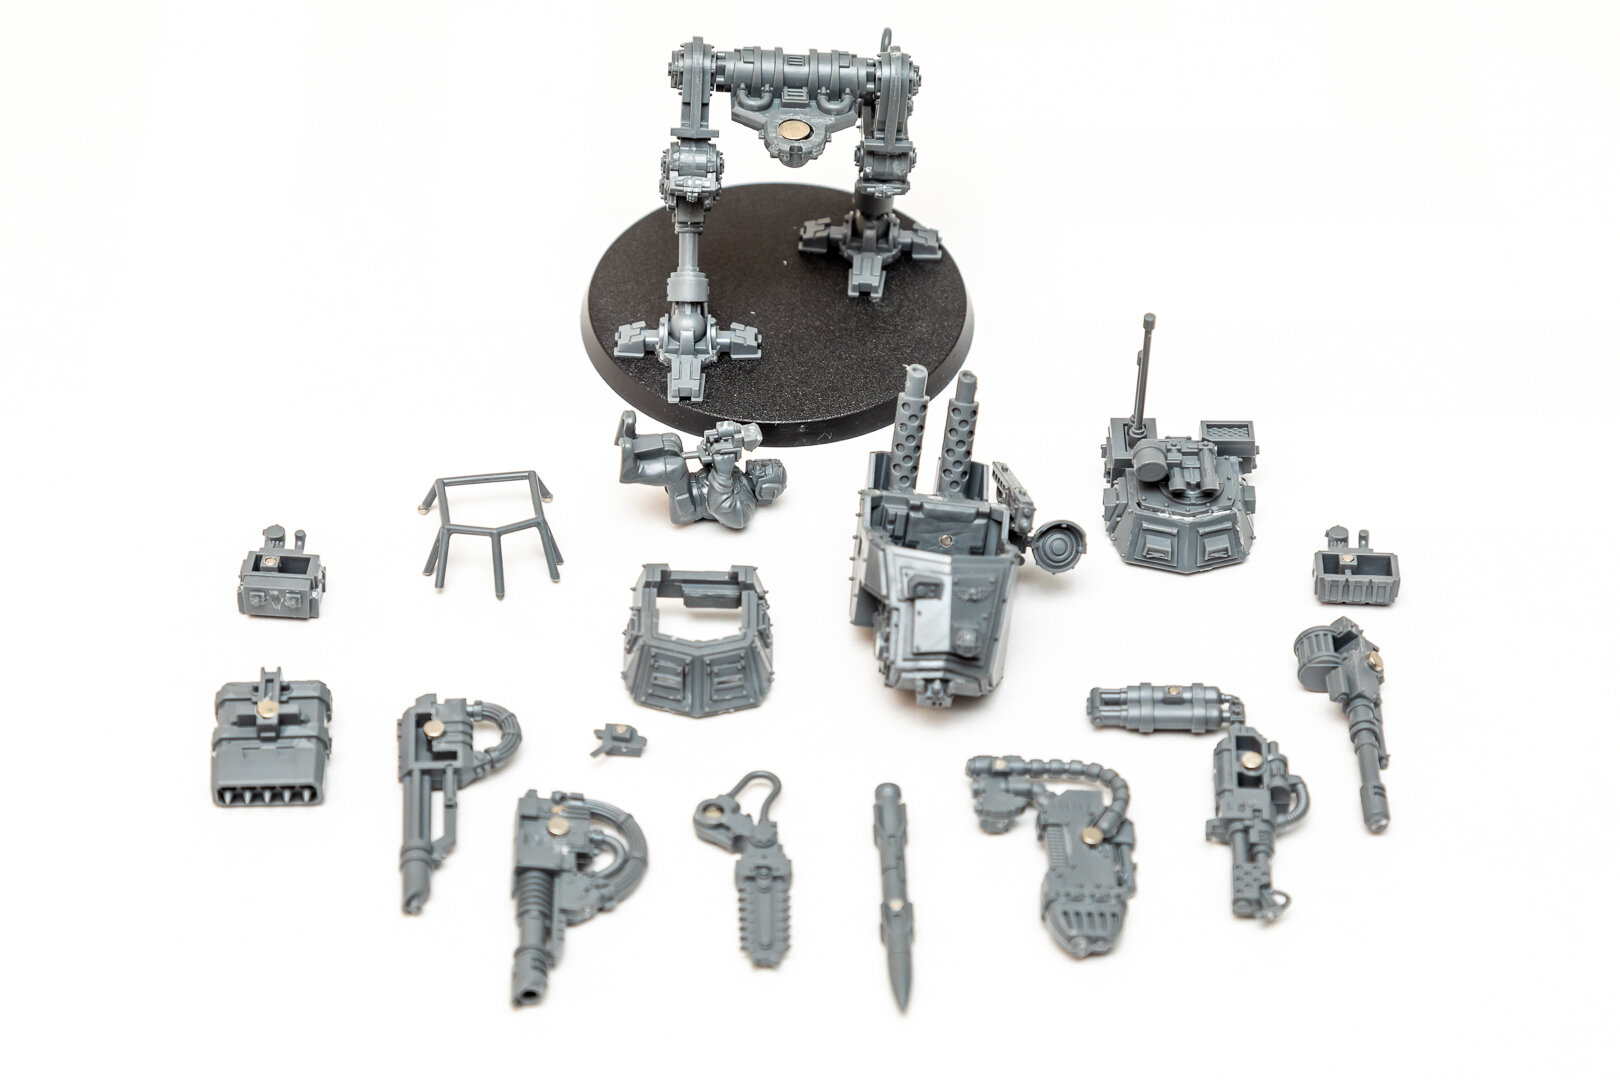
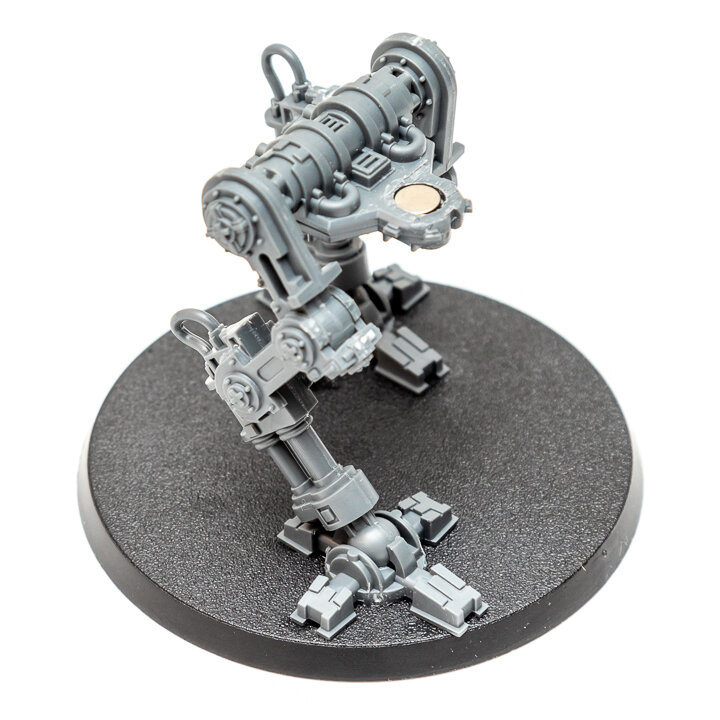
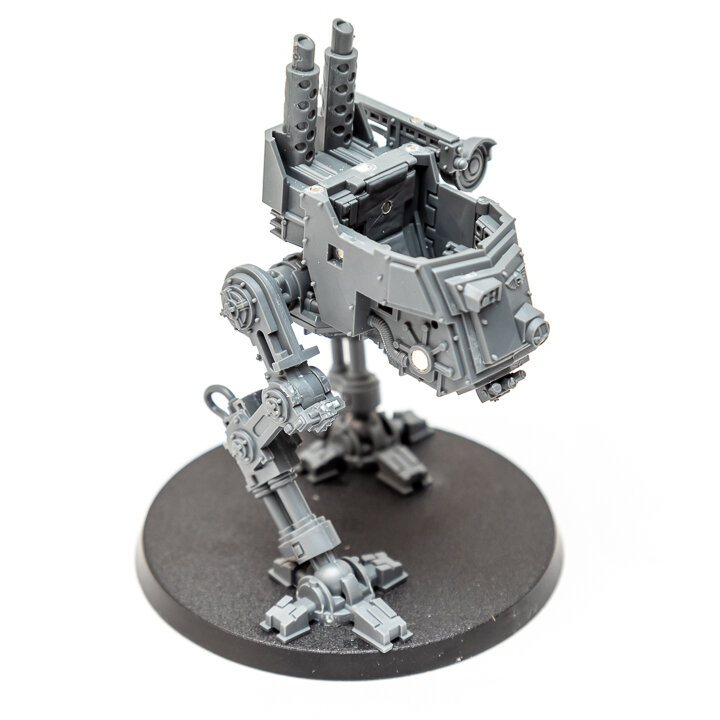
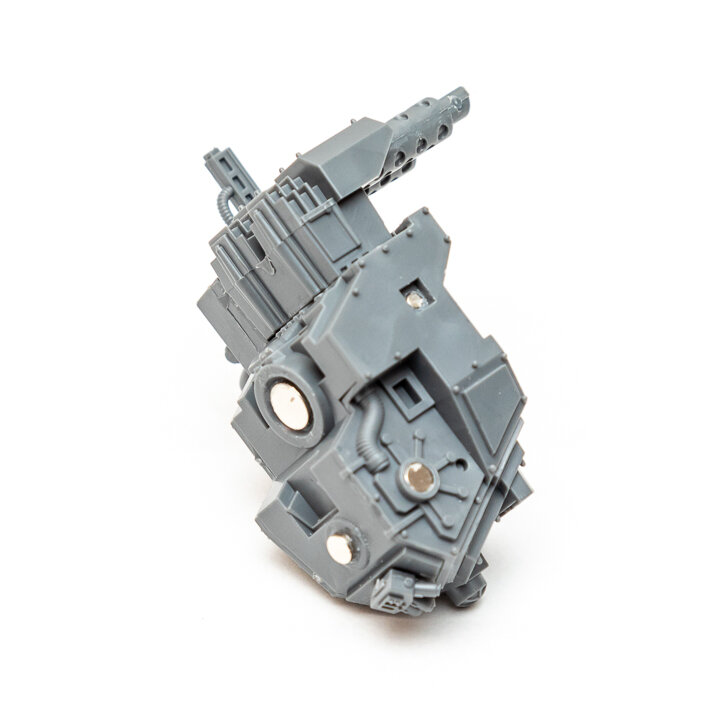
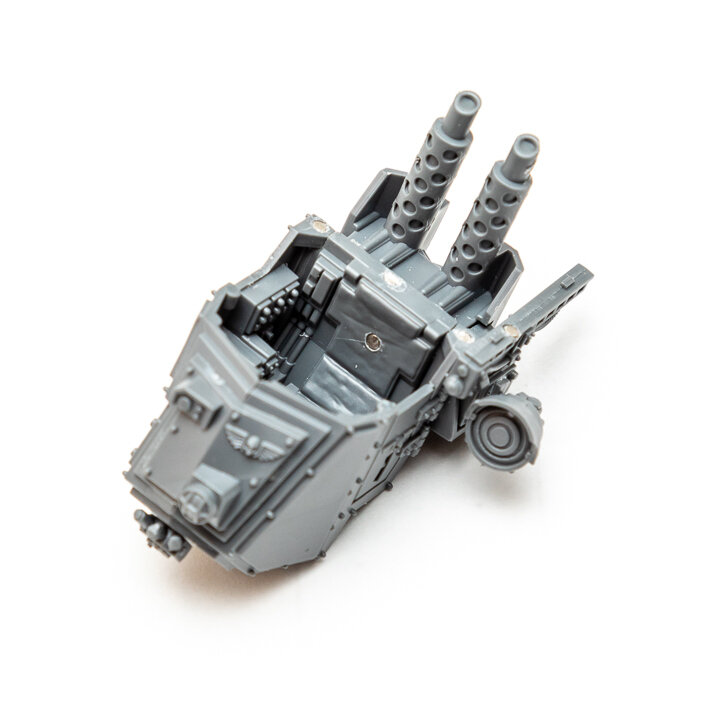
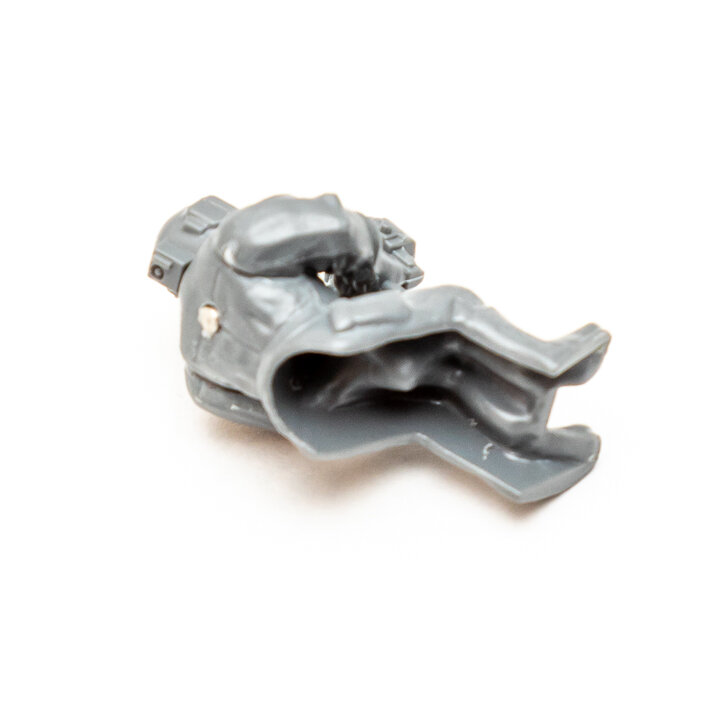
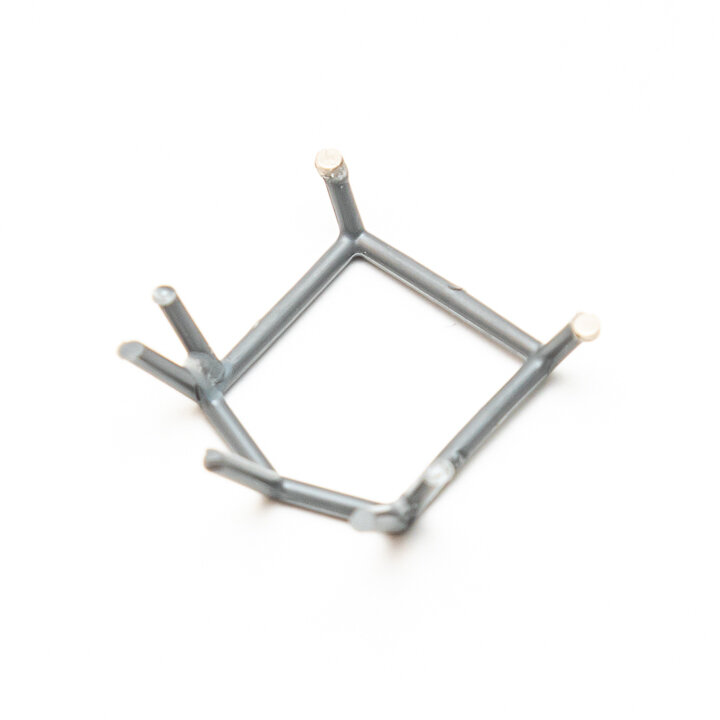
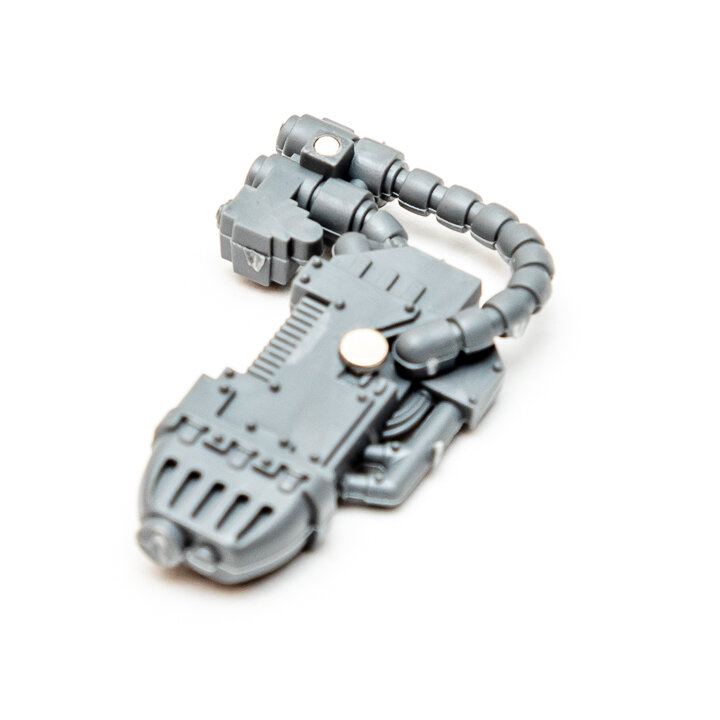
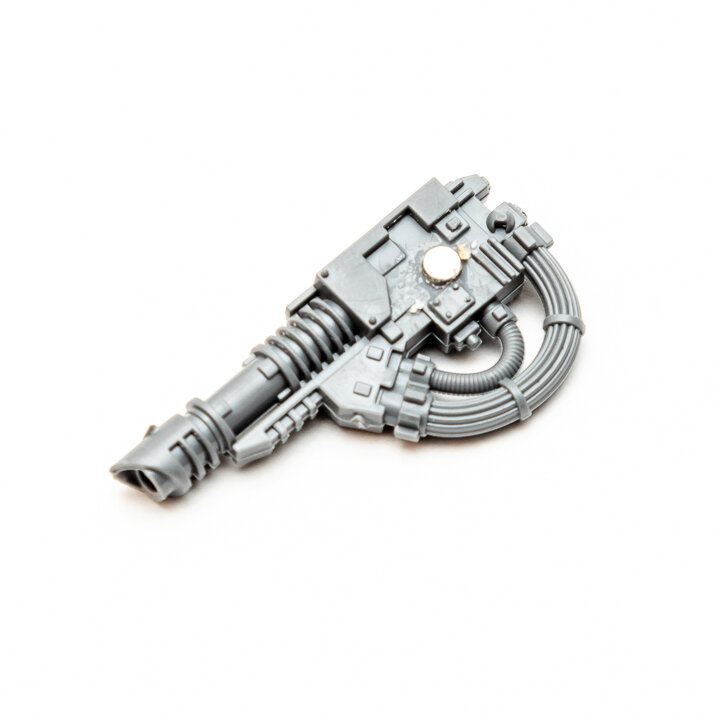
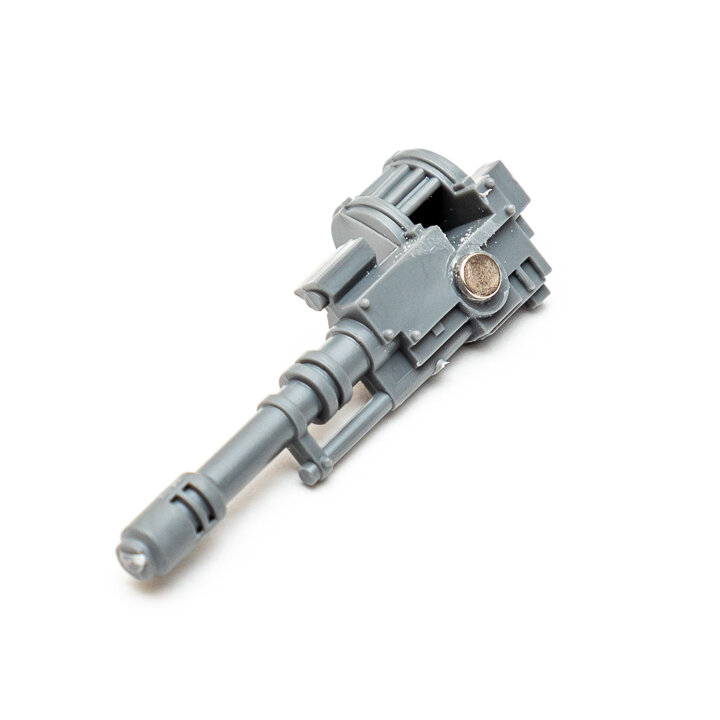
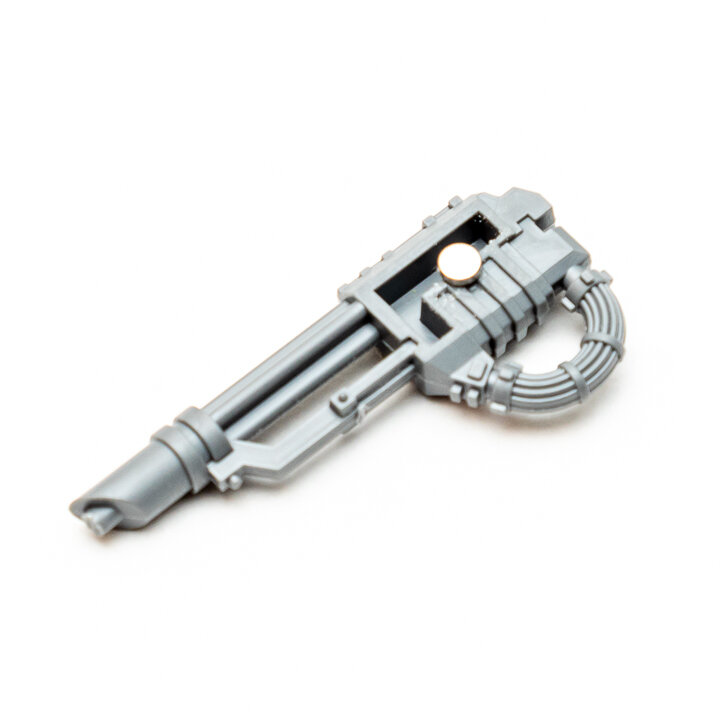
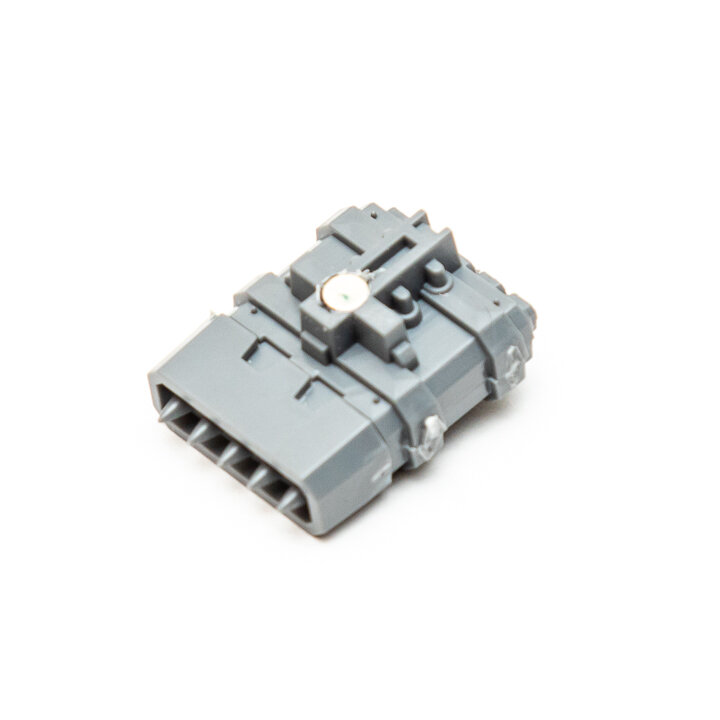
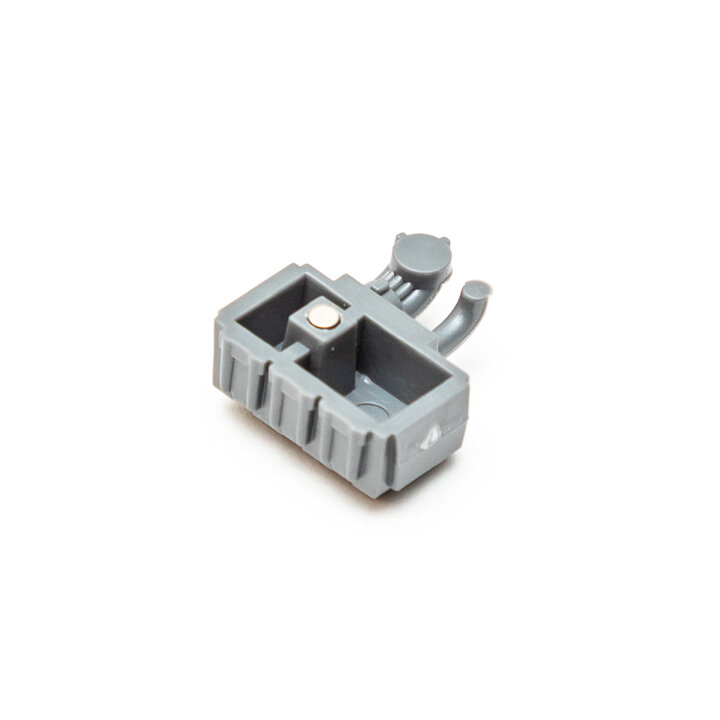
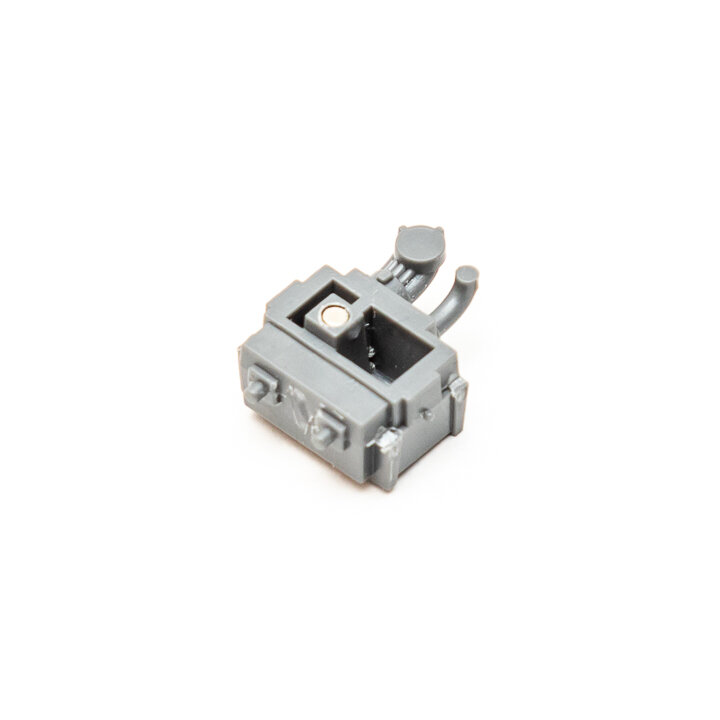
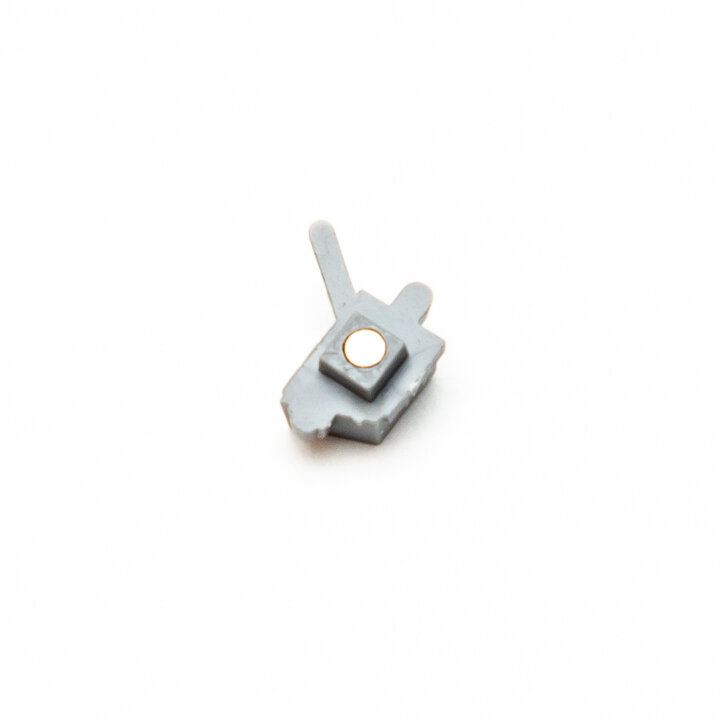
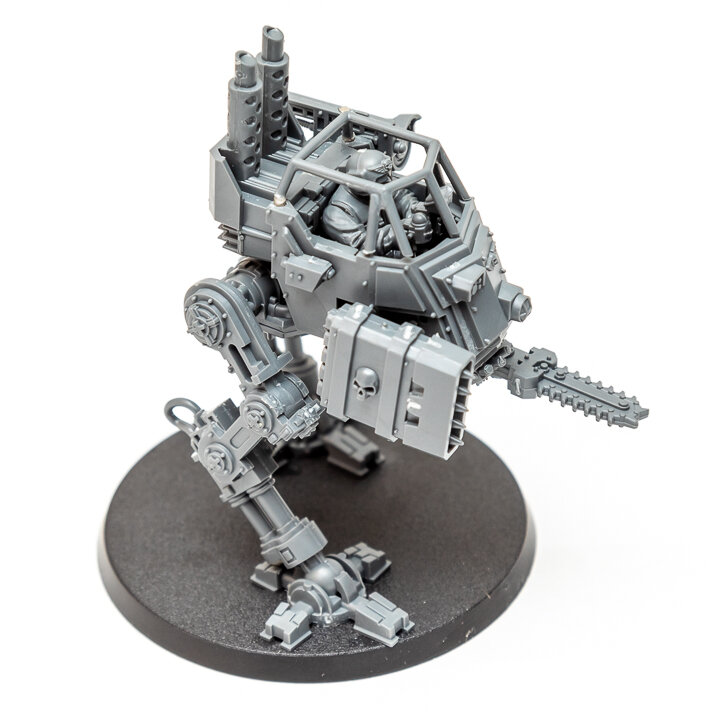
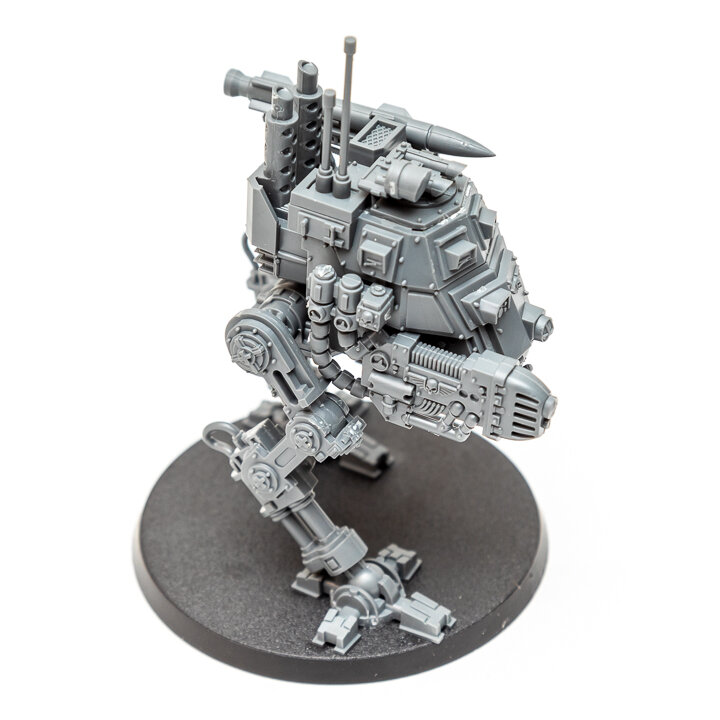
This guide demonstrates how an Astra Militarum Sentinel can be fully magnetized. We’re not just going to magnetize the armament, but the torso as well, allowing the sentinel to easily be disassembled for transport, and configured to run as either the Scout or Armored variant.
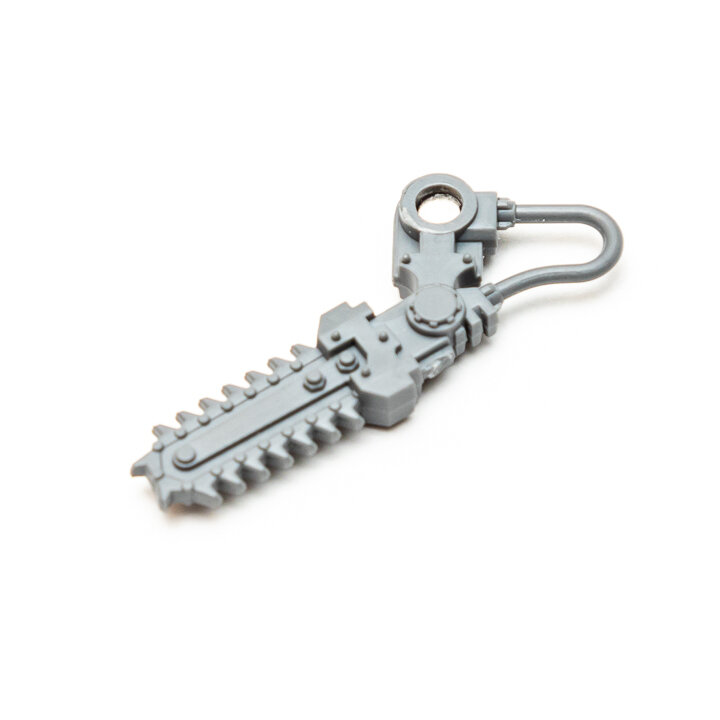
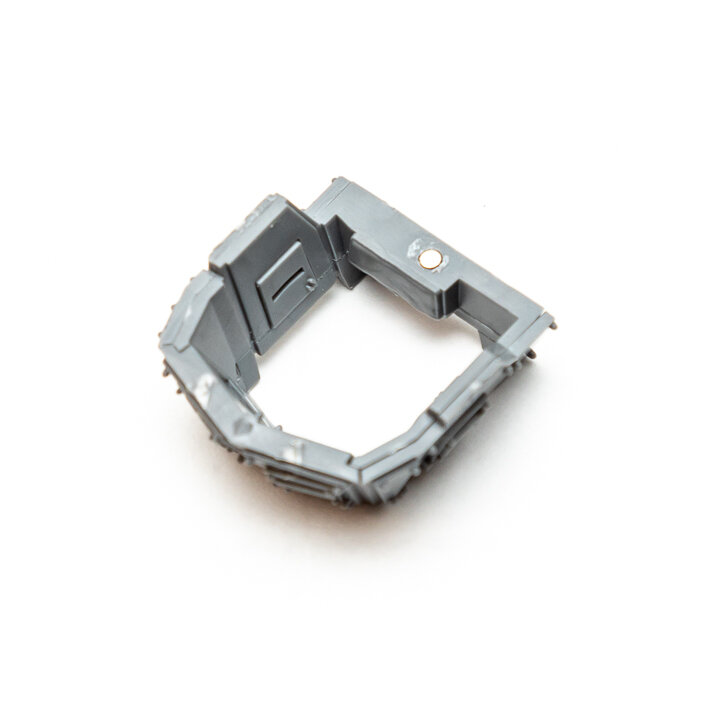
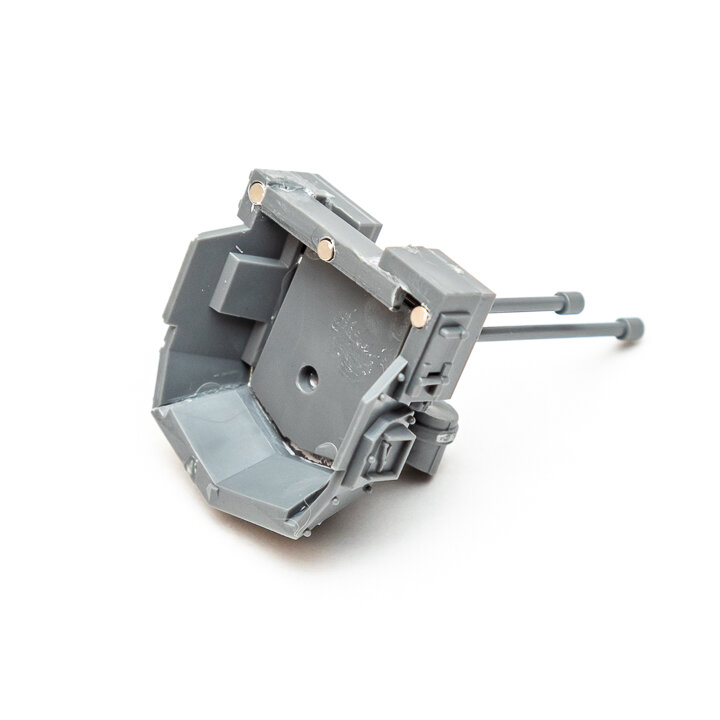
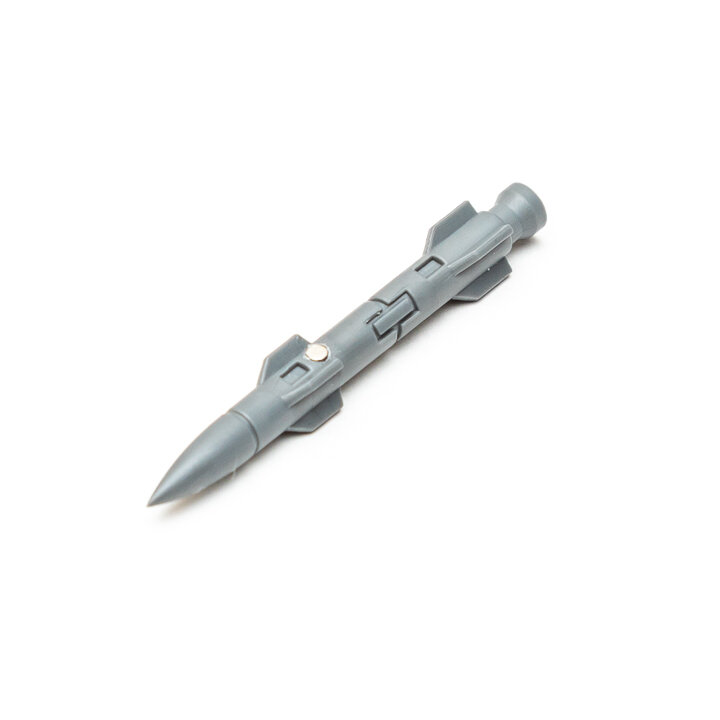
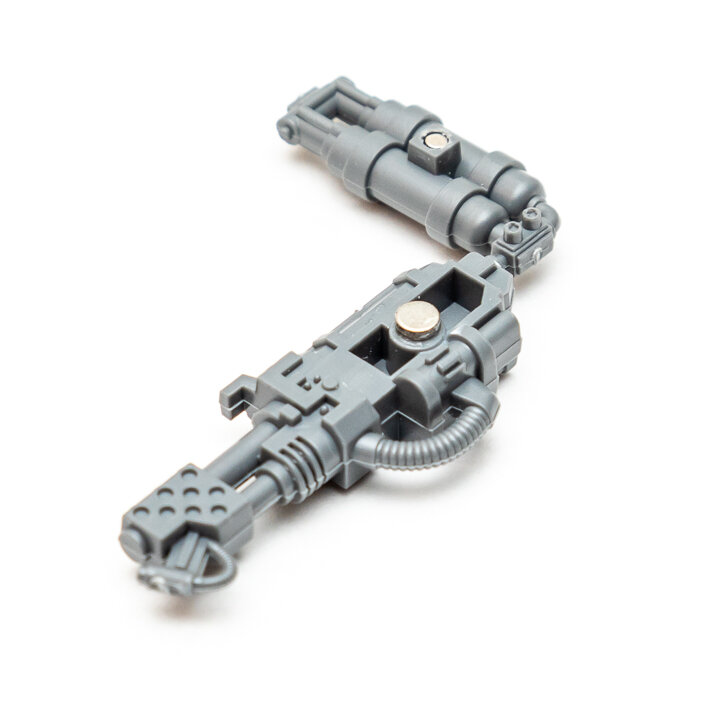
Before we begin, this guide was initially planned as a video, which you can watch on my YouTube channel. Unfortunately, I lacked the foresight to stop and take photos along the way. The photos in this article were taken after the video was complete, and as such do not demonstrate the process. However, they do demonstrate where magnets belong and of what size. If text is not good enough for you to follow along I recommend the aforementioned video.
Magnetizing in General
In general, any joint on any model can be magnetized with the following steps.
Evaluate the size of the magnet needed.
If necessary, remove excess material, using a hobby knife and file to clean the area.
Create a pilot hole using a hobby knife to guide the drill bit.
Drill the hole about 1mm deep using a bit of the same width as the magnet to be used.
Double-check the polarity of the magnet, comparing to previously magnetized models if possible.
Apply glue to the side of the magnet being inserted into the hole.
Insert the magnet into the hole.
Whenever we glue a magnet into place, do so with CA glue or similar glue capable of adhering plastic-to-metal. For all plastic-to-plastic bonds we’ll use plastic glue. Additionally, not all magnets will require a hole be drilled, though most do or at least benefit from it.
A Few Tips Up Front
Always check the alignment of your magnets before committing to glue. If you glue an inset magnet in the wrong orientation you are going to have a bad time.
If magnetizing multiple models, try to maintain the same polarity across all your models. By doing this you won’t need to remember which Lascannon matches which Sentinel.
If you aren’t afraid to get a little glue on your fingernails, you can keep all the magnets together in a stack to help maintain consistent orientation. When setting a magnet, apply a small amount of glue to the magnet at the end of the stack, insert it into its recess, then use your nail to slide the stack away. This should separate the magnet from the stack without letting it roll around.
Materials
For the sake of completeness I’ve listed everything, even the obvious:
The model to be magnetized and its assembly instructions.
Plastic glue
Cyanoacrylate (CA) glue (or other glue capable of bonding metal to plaster)
Files
Tweezers
Hobby Drill with 2mm and 3mm bit
Hobby Saw.
Magnets:
(2) 5mm x 1mm
(8) 3mm x 1mm
(18) 2mm x 1mm
Attaching the Legs to the Torso
Remove the pelvis pieces from the sprue.
Take the upper portion of the pelvis and saw off the round nub that attaches to the torso’s base plate.
Cut off a small portion of sprue, just under a half centimeter, then reduce it’s depth by roughly half.
Glue the narrow portion of the sprue on the inside of the lower pelvis piece over which the opening we made in the upper pelvis piece sits.
Do a test fit of the pelvis pieces and ensure that a 5mm places into the hole sits flush. Remove excess material or add more if necessary.
Tip: You can also use green stuff for adding the required extra material.
Glue the pelvis pieces together.
Glue the 5mm magnet onto the extra material in the opening.
Remove the torso’s base plate from the sprue.
Align another 5mm magnet’s polarity with the one we just added to the pelvis and glue it into place in the socket where the pelvis’ nub would normally be glued.
At this point the rest of the legs can be assembled before moving on, steps 1 and 2 in the assembly instructions.
Chainsaw
Remove the Chainsaw from the sprue
On the torso’s base plate, saw off the cone in which the chainsaw is normally attached to.
Glue a 3mm magnet into place where the cone was removed.
Attach a stack of 3 or so more magnets onto the magnet we just attached and apply glue to the top magnet.
Insert the magnet stack onto the socket of the Chainsaw and apply pressure until the glue has set.
Remove the excess magnets from the chainsaw’s socket.
Tip: An effective way to do this is to use 2 stacks of 5mm magnets, one pulling the magnet out of the socket, the other on the opposite of the side pushing.
Torso Hard Points
Remove the torso’s right side from the sprue.
Warning: Do NOT remove the canopy rod. This goes for the opposite torso side piece as well.
Use a 3mm drill bit to widen the weapon socket. Be gentle here since there’s already a hole the drill will make fast work of it.
Use the 2mm drill bit to create a hole in what I call the accessory socket.
Add the appropriate magnet to the holes we just created.
Pilot
Now we need to magnetize the pilot as they don’t fit inside the Sentinel when the armored canopy is in place.
Assemble the pilot but don’t glue them into their seat.
Drill a 2mm wide hole in the center of the backrest.
Drill a 2mm wide hole on the back of the pilot where the recess lines cross.
Add 2mm magnets to each of the holes.
Make sure the pilot is nice and comfortable.
Note: I would later find that the control stick interfered with the armor canopy, so I removed a small amount of material with my hobby knife and cleaned it up with a file.
Prepping the Torso for the Canopies
Glue the sides of the torso to the base, as well as the engine.
Drill 2mm holes on each of the back corners of the cockpit, roughly below where the roll cage’s rear rods would rest.
Add a 2mm magnet to each of these holes.
Drill a 3mm hole in the center of the cockpit’s rear wall.
Note: I used a 2mm magnet here initially but found it weaker than I would like. In practice gravity will give enough assistance to keep the canopies in place.
Add a 3mm magnet to this hole.
With that done, we’ll tackle the first of the three canopy options, the roll cage.
Scout Canopy
Remove the roll cage from the sprue.
Apply glue to the top of the rods protruding from the sides of the torso.
Caution: Do NOT apply glue to the roll cage itself
Carefully set the roll cage into place.
Tip: Give the glue plenty of time to cure. You may even want to add some CA Glue to reinforce the bond, or even use some green stuff. The rollcage is going to be delicate from here on out.
Use your hobby knife to cut the rods from the torso. Be gentle with the roll cage or you may break the bond with the rods.
Snip off a bit of material from the two back rods, about the same amount as your 2mm magnets are tall (1mm in my case).
Check the orientation of your 2mm magnets against those in the back corners of your torso, then attach them to the roll cage’s rear rods.
Tip: It’s easiest to just place these magnets onto the torso, dab some glue on top, and set the canopy into place.
Pseudo-Armored Scout Canopy
Follow steps 3h through 3k in the manual but without attaching the canopy to the torso at any point.
On the underside of the canopy frame, drill a 3mm hole in the center of the bar.
Attach a 3mm magnet to the magnet in the center of the torso and add CA glue to it.
Set the Canopy into place, making sure the magnet slots into the hole, and let the glue set.
When the glue is dry, remove the canopy and set it to the side.
Armored Canopy
Note: You may notice the instructions below don’t match up with the image as far as magnet placement. This is a case of “do as I say, not as I do and immediately regret”.
We’ve already used the canopy frame, so we’ll need to get creative here.
Remove all the pieces required for steps 7b through 7e of the manual from the sprue.
Take the roof piece and glue the face plate to it, making sure to preserve a ledge around the exterior.
Add the sides, letting the first cure fully before attempting to add the second. As with the face plate, there should be a ledge around the exterior of the roof.
Because we aren’t using the frame there is no back plate. Green stuff works well here and gives us control over the thickness of the back plate, but I just used a piece of sprue, cutting it to length and ensuring one side was cut at an appropriate angle.
Glue the sprue (or green stuff) into place.
Drill a 3mm hole at the center of the back plate’s underside, or a 2mm hole if the material isn’t thick enough.
Attach an appropriately sized magnet to the magnet in the center of the torso and add CA glue to it.
Set the canopy into place, making sure the magnet slots into the hole, and let the glue set.
When the glue is dry, remove the canopy and set it to the side.
Hunter-Killer Missile
I made the mistake of attaching the rail to the torso before drilling the magnet’s hole. This caused the rail to pop off while I was drilling. I also made the mistake of setting the rail too far forward, causing the missile’s fins to collide with the armored canopy.
Remove the rail and the missile from the sprue
Drill a 2mm hole into the rail just behind the front notch.
Drill a 2mm hole into the missile just behind the front slot.
Take two 2mm magnets, leaving them connected, and glue one into the rail
Add CA glue to the other magnet and place the missile onto the rail.
Once the glue has dried remove the missile and set it to the side.
Attach the rail to the Sentinel, lining it up so the front of the rail is flush with the surface we attached it to.
All the Weapons
There is little variation in how we magnetize the weapons. Each weapon consists of the weapon itself and an accessory, with only the Heavy Flamer and Plasma Cannon being glued to their accessories. Hold off on gluing these two weapons to their accessories until after they’ve been magnetized.
Remove all the weapons and accessories from the sprues.
Remove the rod from each weapon, cleaning the spot with a file.
For the missile launcher, drill a 3mm hole in the center of the spot the rod used to occupy. You will need to be delicate here to prevent the drill bit from drifting.
Glue a 3mm into the hole.
For the other weapons, simply glue a 3mm magnet at the spot the rod used to occupy, centering as best as possible.
For each accessory, drill a 2mm hole into the square rod.
Note: In the case of the Heavy Flamer’s fuel tank there is already a small hole which is off center. To ensure the drill is centered, widen this hole with your hobby knife, keeping the edge pointed towards the other side of the block from the hole.
Glue a 2mm magnet into the hole of each accessory
For the Plasma Cannon and Heavy Flamer (working on one weapon at a time), apply glue where the weapon connects to its accessory, then attach both weapon and accessory to the Sentinel, applying pressure as needed to ensure the weapon is securely attached to its accessory.
At this point we’ve completed magnetizing our Sentinel. All that’s left to do is assemble any remaining accessories and configure it for combat.
Now that you’ve magnetized your Sentinel, maybe check out how I painted mine in NATO 3-Color camouflage!
